How to do the Shake Effect on CapCut with Two Ways
Are you trying to make your ordinary video more visually interesting with the help of the shake effect but need to know how to do the shake effect on CapCut perfectly? Then, this guide is your go-to choice. Adding the shake effects to the videos not only creates a more immersive and realistic viewing experience but also aids in drawing attention to specific details or objects within the frame. However, many CapCut users are scratching their heads as they encounter difficulties in seamlessly integrating shakes without compromising video quality.
In this detailed article, we’ll dive into the world of the shake effect in CapCut, providing a straightforward solution to encounter this enigma. By the time we reach the end of this guide, you’ll have mastered the Shake Effect dilemma. You can do this using 2 methods: first, by using a pre-made effect, and second, by using keyframes.

How to do the Shake Effect on CapCut Automatically?
As you know, CapCut comes with various video effects, and the shake effect is also included in it. Hence, you can make the screen shake with the shake effect in the CapCut app using an Android or iOS smartphone by following the steps described below:
- First, open the CapCut application and create a new video editing project by tapping the New Project button.

- Import the video or image onto CapCut to apply the shake effect.

- Locate and hit the Effects icon from the menu toolbar.

- Choose the Basic option, then scroll down to select the Shake effect.

- Now, you’ll need to adjust the duration of the applied shake effect. Once you’ve done so, hit the Export button at the upper right corner of the screen and export your video in your desired resolution.

How to Apply Shake Effect in CapCut Manually Using Keyframe?
Using the keyframes option, You can manually add a shake effect in CapCut. You can do this by following the steps mentioned below:
Option 1: Shake Screen with Background Music using Keyframes.
- First, download and install the CapCut app on your mobile phone.
- Simply open the CapCut app and tap the New Project button to import videos or photos.
- Once you’ve imported videos, navigate to the Audio option and locate the Match Cut function to add a beat. Choose the specific rhyme points where you want to apply the shake effect effortlessly.
- Zoom in the video and tap Keyframe on the beat. Shift the video downward on the first beat and alter its position on the second beat. Repeat this process in pairs of two beats until you’ve adjusted the entire video.
- Now, include an overlay in your video and tap the split icon on each beat. Then, apply the fade-out effect from the Animation options to each clip.
- Once you’ve edited, preview the video and export it.
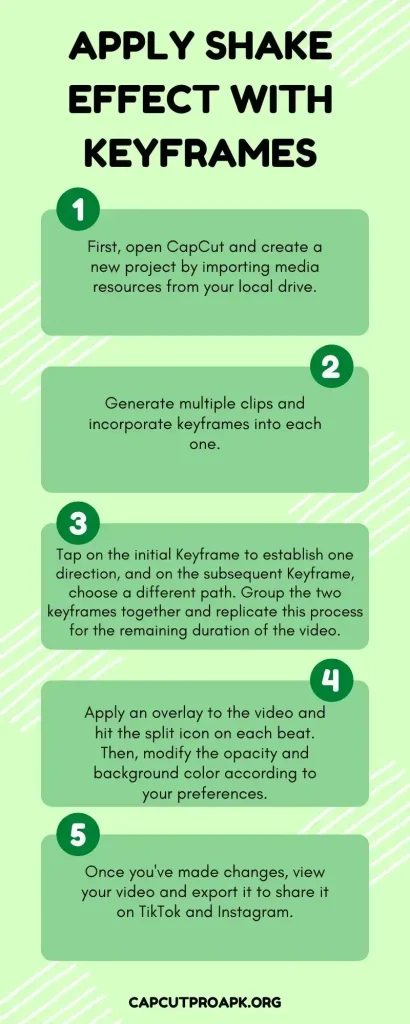
Option 2: Apply Shake Effect with Keyframes
- First, open CapCut and create a new project by importing media resources from your local drive.
- Generate multiple clips and incorporate keyframes into each one.
- Tap on the initial Keyframe to establish one direction, and on the subsequent Keyframe, choose a different path. Group the two keyframes together and replicate this process for the remaining duration of the video.
- Apply an overlay to the video and hit the split icon on each beat. Then, modify the opacity and background color according to your preferences.
- Once you’ve made changes, view your video and export it to share it on TikTok and Instagram.

